How to complete KYC verification on ZendWallet is something every user must know to unlock full access and ensure account security. This guide walks you through it, step by step.
Here’s a detailed guide on how to complete KYC verification on ZendWallet.
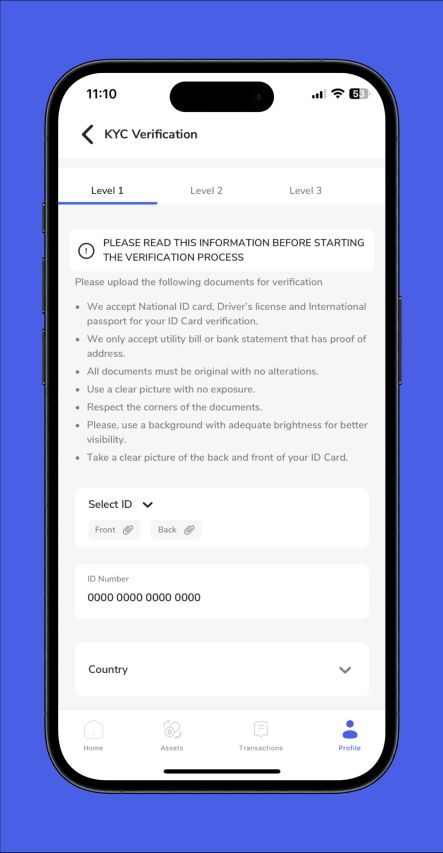
Level 1: Phone Number and Government ID Verification
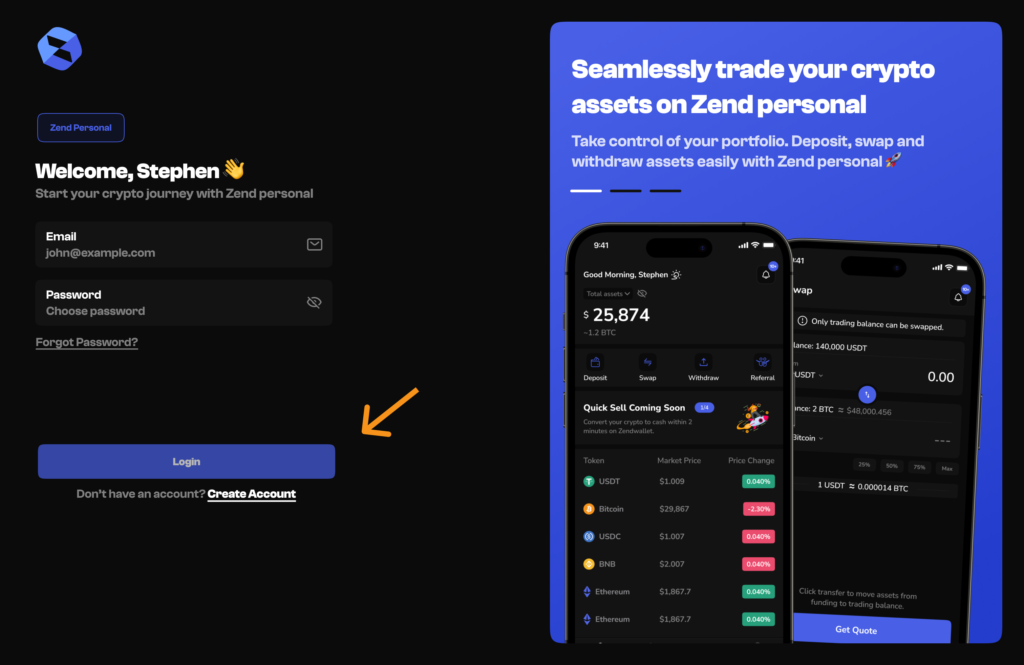
Log In to ZendWallet: Start by logging into your ZendWallet account with your username and password Zendwallet login.
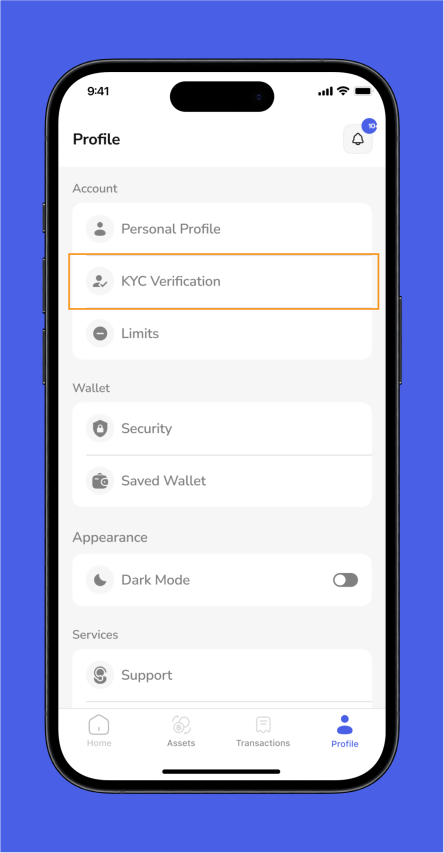
Find KYC Verification: Navigate to “Settings” or “Profile” and select “KYC Verification.”
Verify Your Phone Number: Enter your phone number and wait for an SMS containing a verification code.
Input this code into the field provided and submit.
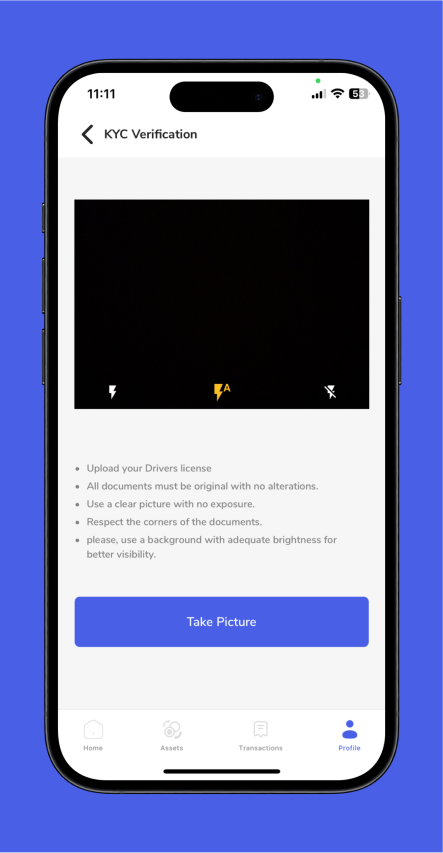
Upload Your Government ID: Take a clear photo or scan and upload your government-issued ID.
Ensure the image is high-quality and all details are visible.
Level 2: BVN Verification
Log In Again: Access your ZendWallet account once more. Navigate to KYC Verification: Go to “Account Settings” and select “KYC Verification.” Enter Your BVN: Provide your Bank Verification Number (BVN) in the designated field.
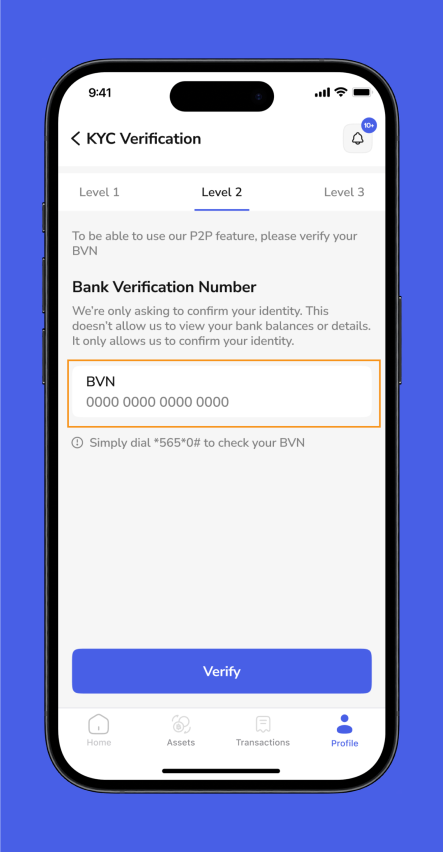
Submit for Review: Check your BVN for accuracy and submit it for verification.
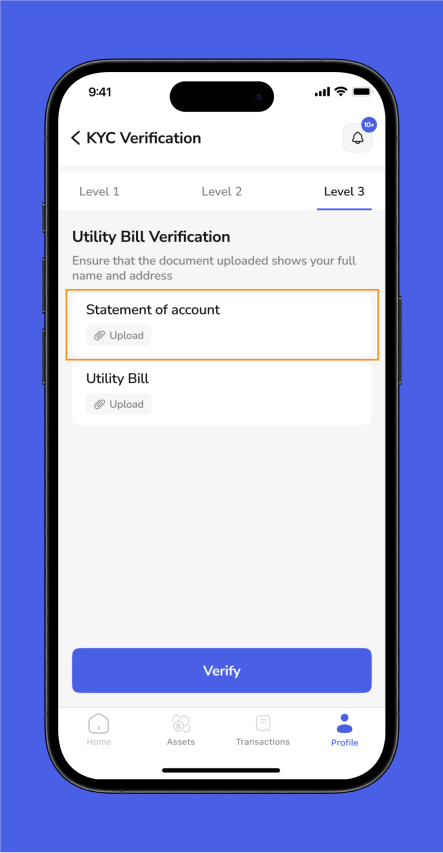
Level 3: Statement of Account and Utility Bility
Log In Once More: Access ZendWallet using your credentials.
Head to KYC Verification: Return to “Account Settings” and click “KYC Verification.”
Upload Statement of Account: Provide a recent bank statement showing your transactions, name, and address.
Upload Utility Bill: Submit a current utility bill that displays your address.
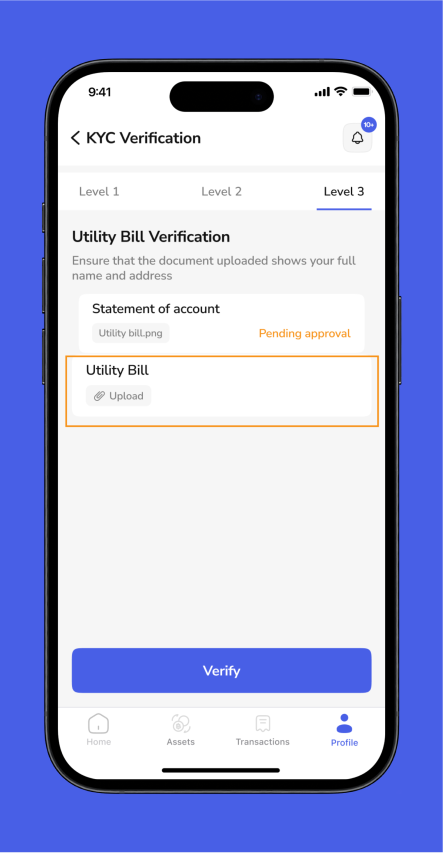
Submit for Final Review: Please ensure all documents are clear and complete before submitting them for the final review.
Troubleshooting KYC Issues
Phone Number Issues:
If you don’t receive your verification code, verify your phone number and ensure SMS reception.
If problems persist, request a new code or contact support.
Document Upload Problems:
If you encounter issues with document uploads, ensure your ID photo is clear and the file format is supported.
Adjust resolution or try different formats if necessary.
BVN Errors:
Double-check your BVN entry to ensure it matches your bank records.
Document Rejections:
If your statement or utility bill is rejected, ensure it is recent, legible, and correctly shows your name and address.
Verification Delays:
Regularly check your account status if there’s a delay and ensure all documents are correctly submitted.
Contact ZendWallet support for persistent issues.
Overview on How to Complete KYC Verification on ZendWallet
Completing the KYC verification on ZendWallet is straightforward:
Verify your phone number, upload your government ID, provide your BVN, and submit a statement of account and utility bill.
Following these steps ensures your account is secure and ready for full use.
ZendWallet’s support team is readily available to help on how to complete KYC verification on ZendWallet.
Also Read: How to Check the Status of Your KYC Verification